
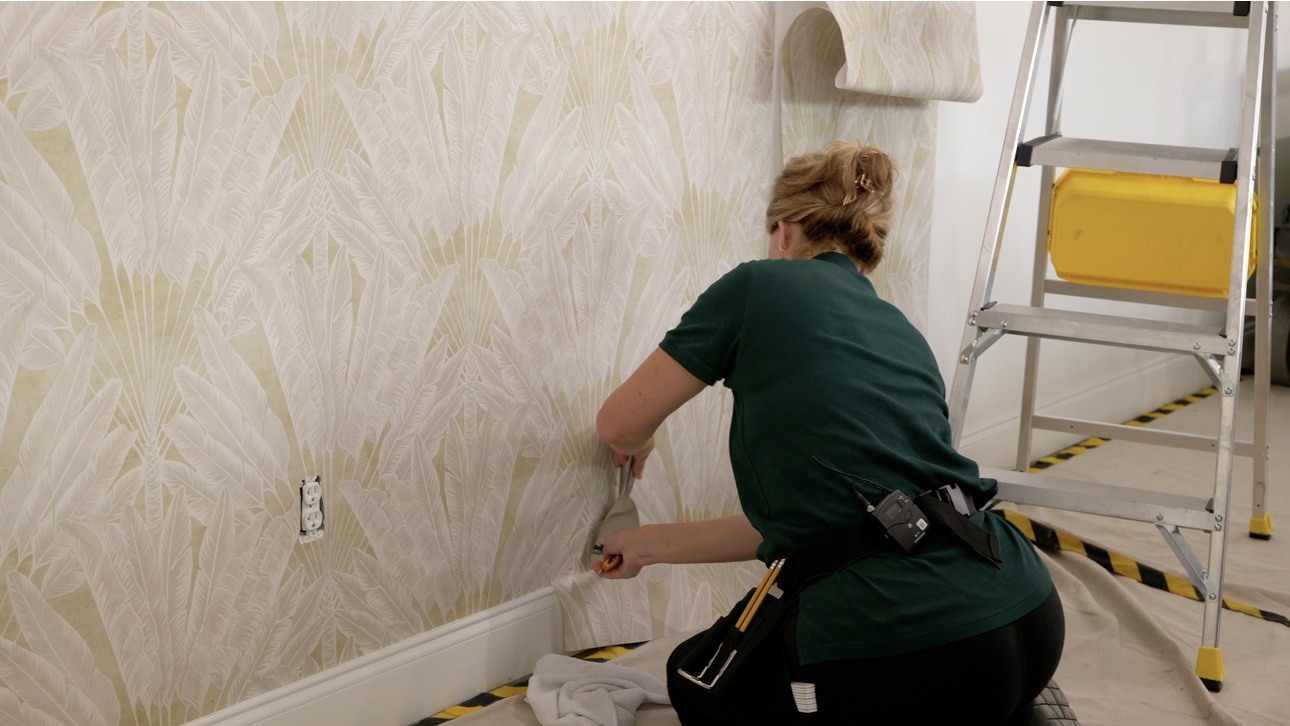

The best wallpaper projects begin long before the first panel
Wallpaper has a way of changing a room at once. A bold print can wake up a quiet hallway. A soft texture can make a bedroom feel warmer. Yet the beauty of the pattern depends on work that remains hidden beneath it. Poor surface preparation or the wrong adhesive may lead to bubbles, loose seams, stains, and uneven panels. We created this guide for homeowners and installers who want the finished wall to look calm, clean, and carefully planned. A dependable process can be developed around ROMAN wallpaper glue, chosen based on the wallcovering type, surface condition, and installation method. The right match provides a better base for alignment and lasting contact.
This guide covers product selection, wall preparation, adhesive application, panel placement, and cleanup. We will explain why paper, vinyl, grass cloth, and nonwoven wallcoverings may require different products. The wall itself also matters because painted drywall behaves differently from sealed wood, glass, or another smooth surface. Room temperature and moisture can also influence working time. Good slip can make pattern matching and final positioning easier during installation. ROMAN advises using a suitable roller to create a thin and even adhesive layer for applicable products. By following a clear order, installers can avoid frantic adjustments and give each panel the attention it deserves.
What should you confirm before selecting wallpaper adhesive
Begin with the instructions supplied by the wallcovering maker. They may call for clear paste, clay adhesive, a pre-pasted activator, or another specific formula. Check the backing material and the visible design. A heavy commercial vinyl may need more holding strength than a light nonwoven paper. Delicate materials may also require an adhesive that is easy to clean and stain-resistant. Never assume one container suits every roll in the room.
Review these details before buying
- Wallcovering material and backing type
- Recommended adhesive category
- Surface condition and existing coating
- Room moisture and expected traffic
- Future removal requirements
Read the adhesive label after reviewing the wallpaper instructions. Both sets of directions should agree. When the recommendations conflict, ask the manufacturers or an experienced installer before continuing. A small test panel can show how the paper moves, bonds, and dries. That simple check is far easier than repairing a full wall.
How can wall preparation prevent bubbles and loose seams
Adhesive cannot correct a dusty, uneven, or unstable wall. Remove loose paint, old paste, dirt, grease, and other residue. Fill cracks and holes with a suitable repair material. Sand rough areas until the surface feels even. Glossy coatings may need special preparation before they can accept wallpaper. Allow every repaired or cleaned area to dry fully.
Use a primer when the wallpaper or adhesive instructions require one. Primer can create a more uniform surface and make later removal easier in suitable installations. It may also reduce uneven absorption across patched and unpatched areas. Protect trim, floors, outlets, and nearby furniture before adhesive work starts. Mark a straight reference line for the first panel. A clean, level start keeps small errors from growing across the wall.
Why does careful application make pattern matching much easier
The adhesive layer should be even enough to support movement without creating heavy wet spots. Follow the stated spreading method, coverage rate, and waiting time.
- Prepare only a manageable work area
Work with one panel or a small section at a time. Large pasted areas may begin drying before the paper reaches the wall. A controlled pace keeps the adhesive workable.
- Spread from the center toward each edge
Use the recommended brush or roller. Cover corners and edges without leaving thick ridges. Even coverage helps reduce dry seams and trapped pockets.
- Respect booking or resting instructions
Some wallpapers need time after pasting so the material can relax. Fold pasted surfaces together only when directed. Do not crease the paper during this stage.
- Align the design before smoothing firmly
Match the pattern near eye level first. Make small adjustments while the adhesive still allows movement. Once aligned, smooth the panel outward from the center.
What finishing steps protect the wall after each panel is placed
Clean work should continue as the wallpaper reaches the wall. Use the approved smoothing tool and apply light, steady pressure. Harsh force can stretch paper, damage its texture, or push too much adhesive out of the edges. Wipe fresh residue with the method recommended for the wallpaper and glue. Replace dirty water and cloths before they spread paste across the surface. Inspect every seam before moving to the next panel.
Keep these final habits in mind
- Use a sharp blade for clean trimming
- Remove fresh adhesive without hard rubbing
- Keep seams aligned without excessive pressure
- Allow the room to dry under recommended conditions
- Save product details for later reference
Avoid strong heat or sudden drafts unless the instructions allow them. Fast, uneven drying may affect seams and panel position. Check the finished wall under both daylight and room lighting. Gentle cleanup and patient drying help preserve the work completed earlier.
Give the pattern a strong foundation and let it transform the room
Wallpaper installation succeeds when every hidden step supports the visible design. We should match the adhesive with the wallcovering, prepare the surface, spread an even layer, and place each panel without rushing. Clean tools and careful trimming help complete the result. Product directions should always take priority over habit or guesswork. Take your time with the first panel, as it guides everything that follows. Once the final seam settles into place, step back and enjoy how thoughtful preparation has made the pattern part of the room.
Comments are closed.